Elasticsearch: Quick review and installing on a Docker Container
The Elastic Search it’s a open source search tool, that have the capability to handle large volumes of data on realtime. It’s used by companies like Google, GitHub, Twitter, SoundCloud, Yelp and Foursquare, for example.
It has been developed by Shay Bannon in 2010, the distributed search server it’s based on Apache Lucene and developed on java, using a common interface - JSON over HTTP. It has clients to the main progamming languages and has been developed from scratch with the objective to be used and distributed on clusters. The scalable tool it’s perfect to work with BigData.
One of the features most used it’s the filter, that use cache to perform repeated searches. When performing a search that was already made before, the tool already knows where are the documents - which ensures a lot of speed to perform exact values searches.
Already in the search for querys, it is possible to rank the results by relevance and to cause more easily for the users.
Among the main advantages of the full-text search engine are the availability of near-real-time data, high availability to handle large volumes of data and the storage of data in the form of documents.
In addition, it has several other features such as geolocation and analytics. That is, it is a powerful and flexible tool that presents a robust set of query APIs and DSLs.
Installing on a Docker Container
The first step will be download the elastic image on the version 6.7.0. It’s pretty easy, just open a terminal on your computer and execute the follow command:
docker pull docker.elastic.co/elasticsearch/elasticsearch:6.7.0
When the command finish, execute docker images to verify if the image it’s on your host. Below you have an image showing this step:

Now to run the elastic on a container, execute the command below on your terminal:
docker run --restart=always -d --name elasticsearch -p
9200:9200 -e "http.host=0.0.0.0" -e "transport.host=127.0.0.1"
docker.elastic.co/elasticsearch/elasticsearch:5.5.2
Analyzing the code above you have:
-
–restart=always: to your container always run when Docker daemon stops because anything
-
-d: to run in background
-
–name elasticsearch: container name
-
-p 9200:9200 : mapped ports of our host with the container
Now execute docker ps on your terminal to verify if your container was created correctly. Below you have an image showing this step:

If everything it’s OK, open your browser and go to the address http://localhost:9200/, maybe will be requested the below credentials.
user: elastic password: changeme
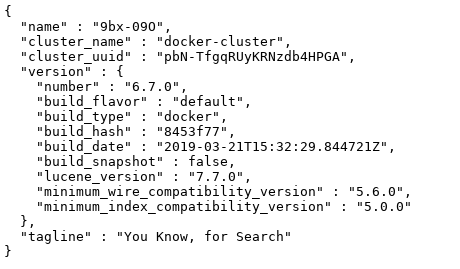
After login you will receive the information below about your implementation:

Manipulating data on Elasticsearch
As mentioned on last step, elastic allow us to work with Rest apis. To you have a complete overview, we’ll use curl to insert and list some data.
Open a terminal on your computer and execute the below command:
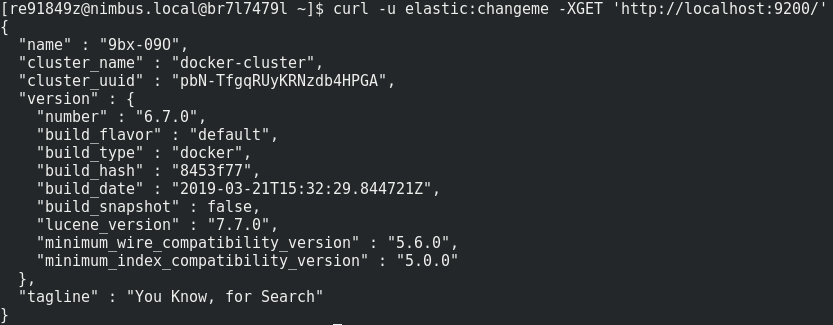
curl -u elastic:changeme -XGET 'http://localhost:9200/'
It should return the same data of the last step on browser.

Now we will send our first record to elastic. For this, execute this command below on your terminal:
curl -H 'Content-Type: application/json' -u elastic:changeme -XPUT http://localhost:9200/person/users/1?pretty -d '{
"firstname" : "Mauricio",
"lastname" : "Reis"
}'
To understand the code above:
- /person -> it will be your index (on relational model it’s your database)
- /users -> it will be your type (on relational model it’s your table)
Below you have an image showing this step:

Now to return this record, execute the command below on your terminal:
curl -u elastic:changeme -XGET http://localhost:9200/person/users/1?pretty
Below you have an image showing this step:

Now to delete this record, execute the command below on your terminal:
curl -u elastic:changeme -XDELETE http://localhost:9200/person/users/1?pretty
That is it guys. I hope that article help you in something.
References:
https://qbox.io/blog/what-is-elasticsearch https://www.elastic.co/blog/what-is-an-elasticsearch-index

